In 1989-90 the council introduced wheelie bins and I had a plastic dustbin to spare. What to do with it? At around the same time I was still a member of the Royal Horticultural Society and received their monthly magazine The Garden, then pocket sized. To my surprise there was an article about making a wormery out of an old dustbin. The article showed a photo of a line of six bins, but I had just one. I think the article was by someone from the Henry Doubleday Research Institute, now Garden Organic.
 |
| Image (c) Brighton Peace and Environment Centre |
The benefits of a wormery
Aside from being able to chuck your veg and fruit peelings into it and various bits of greenery, worms make great compost and liquid feed for the garden. Where a garden is too small to accommodate a compost bin, a wormery is a compact alternative. It is faster than composting.
I have to say I am shocked at the cost of ready made wormeries, which to my mind are too small. The cheapest I could find was nearly £40 and the most expensive over £100 for what is after all a few bits of plastic. If you already have a plastic dustbin you can save £11 but even if you don't the total cost of a big one (80 litres) works out at less than £20 and about an hour's work. Less if you are good with a drill/skewer.
You can also make one on a smaller scale, with a smaller bin, for use on a balcony. The principles are the same. It doesn't work with a flip-top bin, only one with a tight fitting lid.
Start the wormery in the summer when the weather is warm.
If you know someone who loves fishing, they will be fighting you for the worms or sneaking out and taking a load of them. That's ok, as long as you have enough!
There are two things to bear in mind; worms don't like it too cold, or too acid. I have wrapped the dustbin in an old blanket when the temperature dropped too low. Don't shove more food in than they can eat, once it gets going and the worms start multiplying you can add more. Go easy on the citrus peelings - orange, lemon, pineapple, tomatoes - as it makes the environment too acid.
Here is a shameless plug for Wilkinson - it is very cheap and sells lots of good garden stuff, reminiscent of Woolworths.
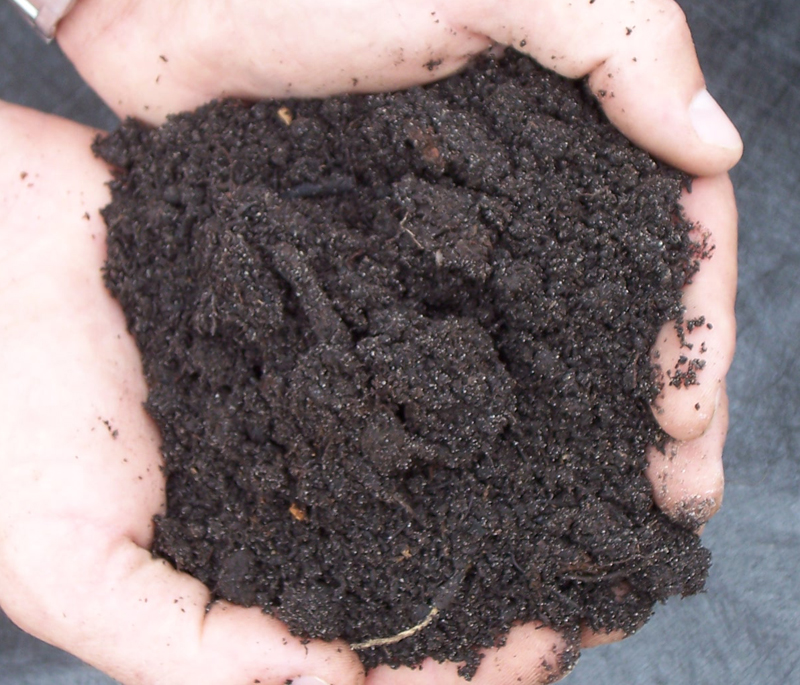
What is sedge peat?
It is formed from grasses and sedge species,
primarily Carex, with Juncus, Eriophorum, and Scirpus. It is particularly suitable for breeding worms. Moss peat is too acid and should not be used.
 |
| Image (c) Greenleaf Supply |
The ingredients
A plastic dustbin, cost about £11
A drill for making holes in the bin, alternatively a metal skewer heated up (be careful!)
Bricks or something to stand the bin on, and a shallow plastic container like a big cat litter tray to catch the liquid feed
A bag of gravel, cost about £3
Water
Short thin pieces of wood (not creosoted or painted)
A bag of sedge peat, cost about £3
Brandling worms (tiger worms) - leave some wet newspaper out in the garden for a week or so and you will soon have enough. Collect as many as you can.Chopped up raw vegetables and fruit - no meat, no dairy, no cooked and very little citrus
Instructions
- Mark a line about six inches up from the base of the bin. Drill or skewer evenly spaced holes around this line, about six inches apart. What does this do? Provides drainage and humidity.
- Make a few holes in the lid in the same way. This provides air to the wormery.
- Place the bin in position on top of the bricks or in the container - it will get quite heavy when it is filled.
- Pour the gravel in to come just above the holes. Why? So the drainage holes don't get blocked.
- Pour in the water to just below the holes. This is the 'sump'. What happens to it? As the worms make the compost, excess moisture full of nutrients drips into the water, raises the level and makes liquid feed which comes out of the holes. Hence the container!
- Place the pieces of wood across the gravel in a criss cross pattern. This acts as a barrier between the sump and the peat.
- Add the sedge peat, breaking it up if it is lumpy and reserving a little.
- Now for the fun part. Add the brandling worms that you have collected, then a little chopped up veg and fruit, some of it a bit rotten (use a compost caddy if you have one or a plastic container with a lid). Cover with a thin layer of the sedge peat.
- Put torn or shredded wet newspaper (re-use the paper for collecting the worms) over the top of it all then put the lid on.
Try not to keep opening the lid too much to see how the worms are getting on. After about three weeks you can add some more veg and fruit, sparingly. The worms will have multiplied. If you find little white worms in the bin, it is too acid so try to balance it out by adding a little sedge peat to neutralise it. I had to do this several times at first. The white worms don't do any harm, they are an indicator.
Also beware of fruit fly larva on fruit skin - give it a wash in clean water or a wipe before adding to the bin. There are few things less pleasant than opening the bin and a cloud of fruit flies in your face.
Once you have the balance right, the wormery should smell really nice every time you take off the lid.
 |
| The venerable wormery - 22 years and still going strong |
You don't need to feed them so much in the winter when they aren't so active.
Happy worm farming!
No comments:
Post a Comment